Android WebRTC Video Example
The Nabto Edge WebRTC Video app for Android demonstrates how to view a WebRTC video stream from a Nabto Edge WebRTC enabled camera.
This guide will walk you through step by step until you have a working Nabto Edge WebRTC Video setup with a client application and a device that can communicate directly with each other. If you do not have access to an actual video feed, the guide will show how you can setup a “virtual camera” with a test video feed to enable end-to-end testing without an actual camera.
The source code is available for both the Android app and an example Nabto Edge WebRTC device application.
Note that the Nabto Edge WebRTC Video app currently must be run on a physical Android device if streaming an H264 feed (the demo video device does that).
Create device in the cloud console
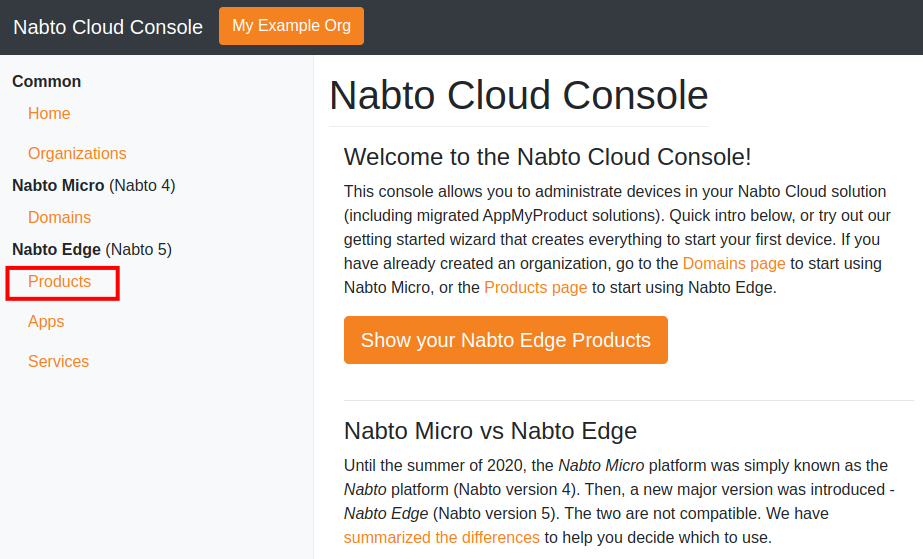
In this step we create and configure a Nabto Edge device. Go to https://console.cloud.nabto.com/ where you can register and log in to the Nabto Cloud Console. Once you have registered and logged on, you will be greeted with the home page. From here click on the Products link in the sidebar.
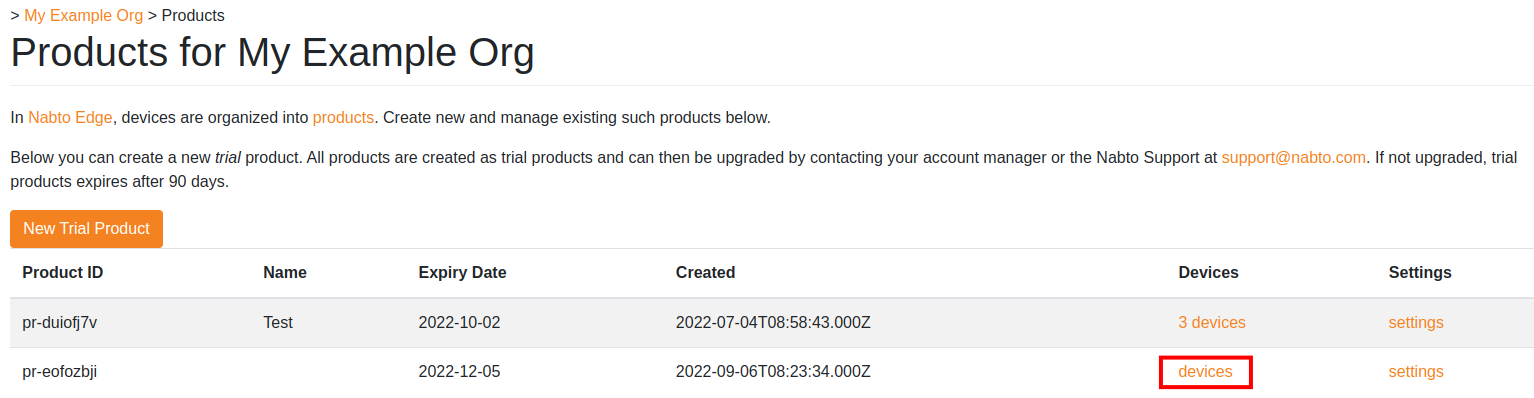
Now press New Trial Product to create a trial product. Creating a product will send you to the settings page for your new product. Return to the products page by clicking Products in the sidebar again. Now you should see that a product has been added to the list. Take note of the Product ID column.
Now we need to create a device. Click on devices on your new product.
At the moment there are no devices registered for this new product.
Press Create Single Device to create a device that we can use. You will notice a new device is immediately added to the list of devices below, and the device has a Device ID column. Click on the device to open its settings.
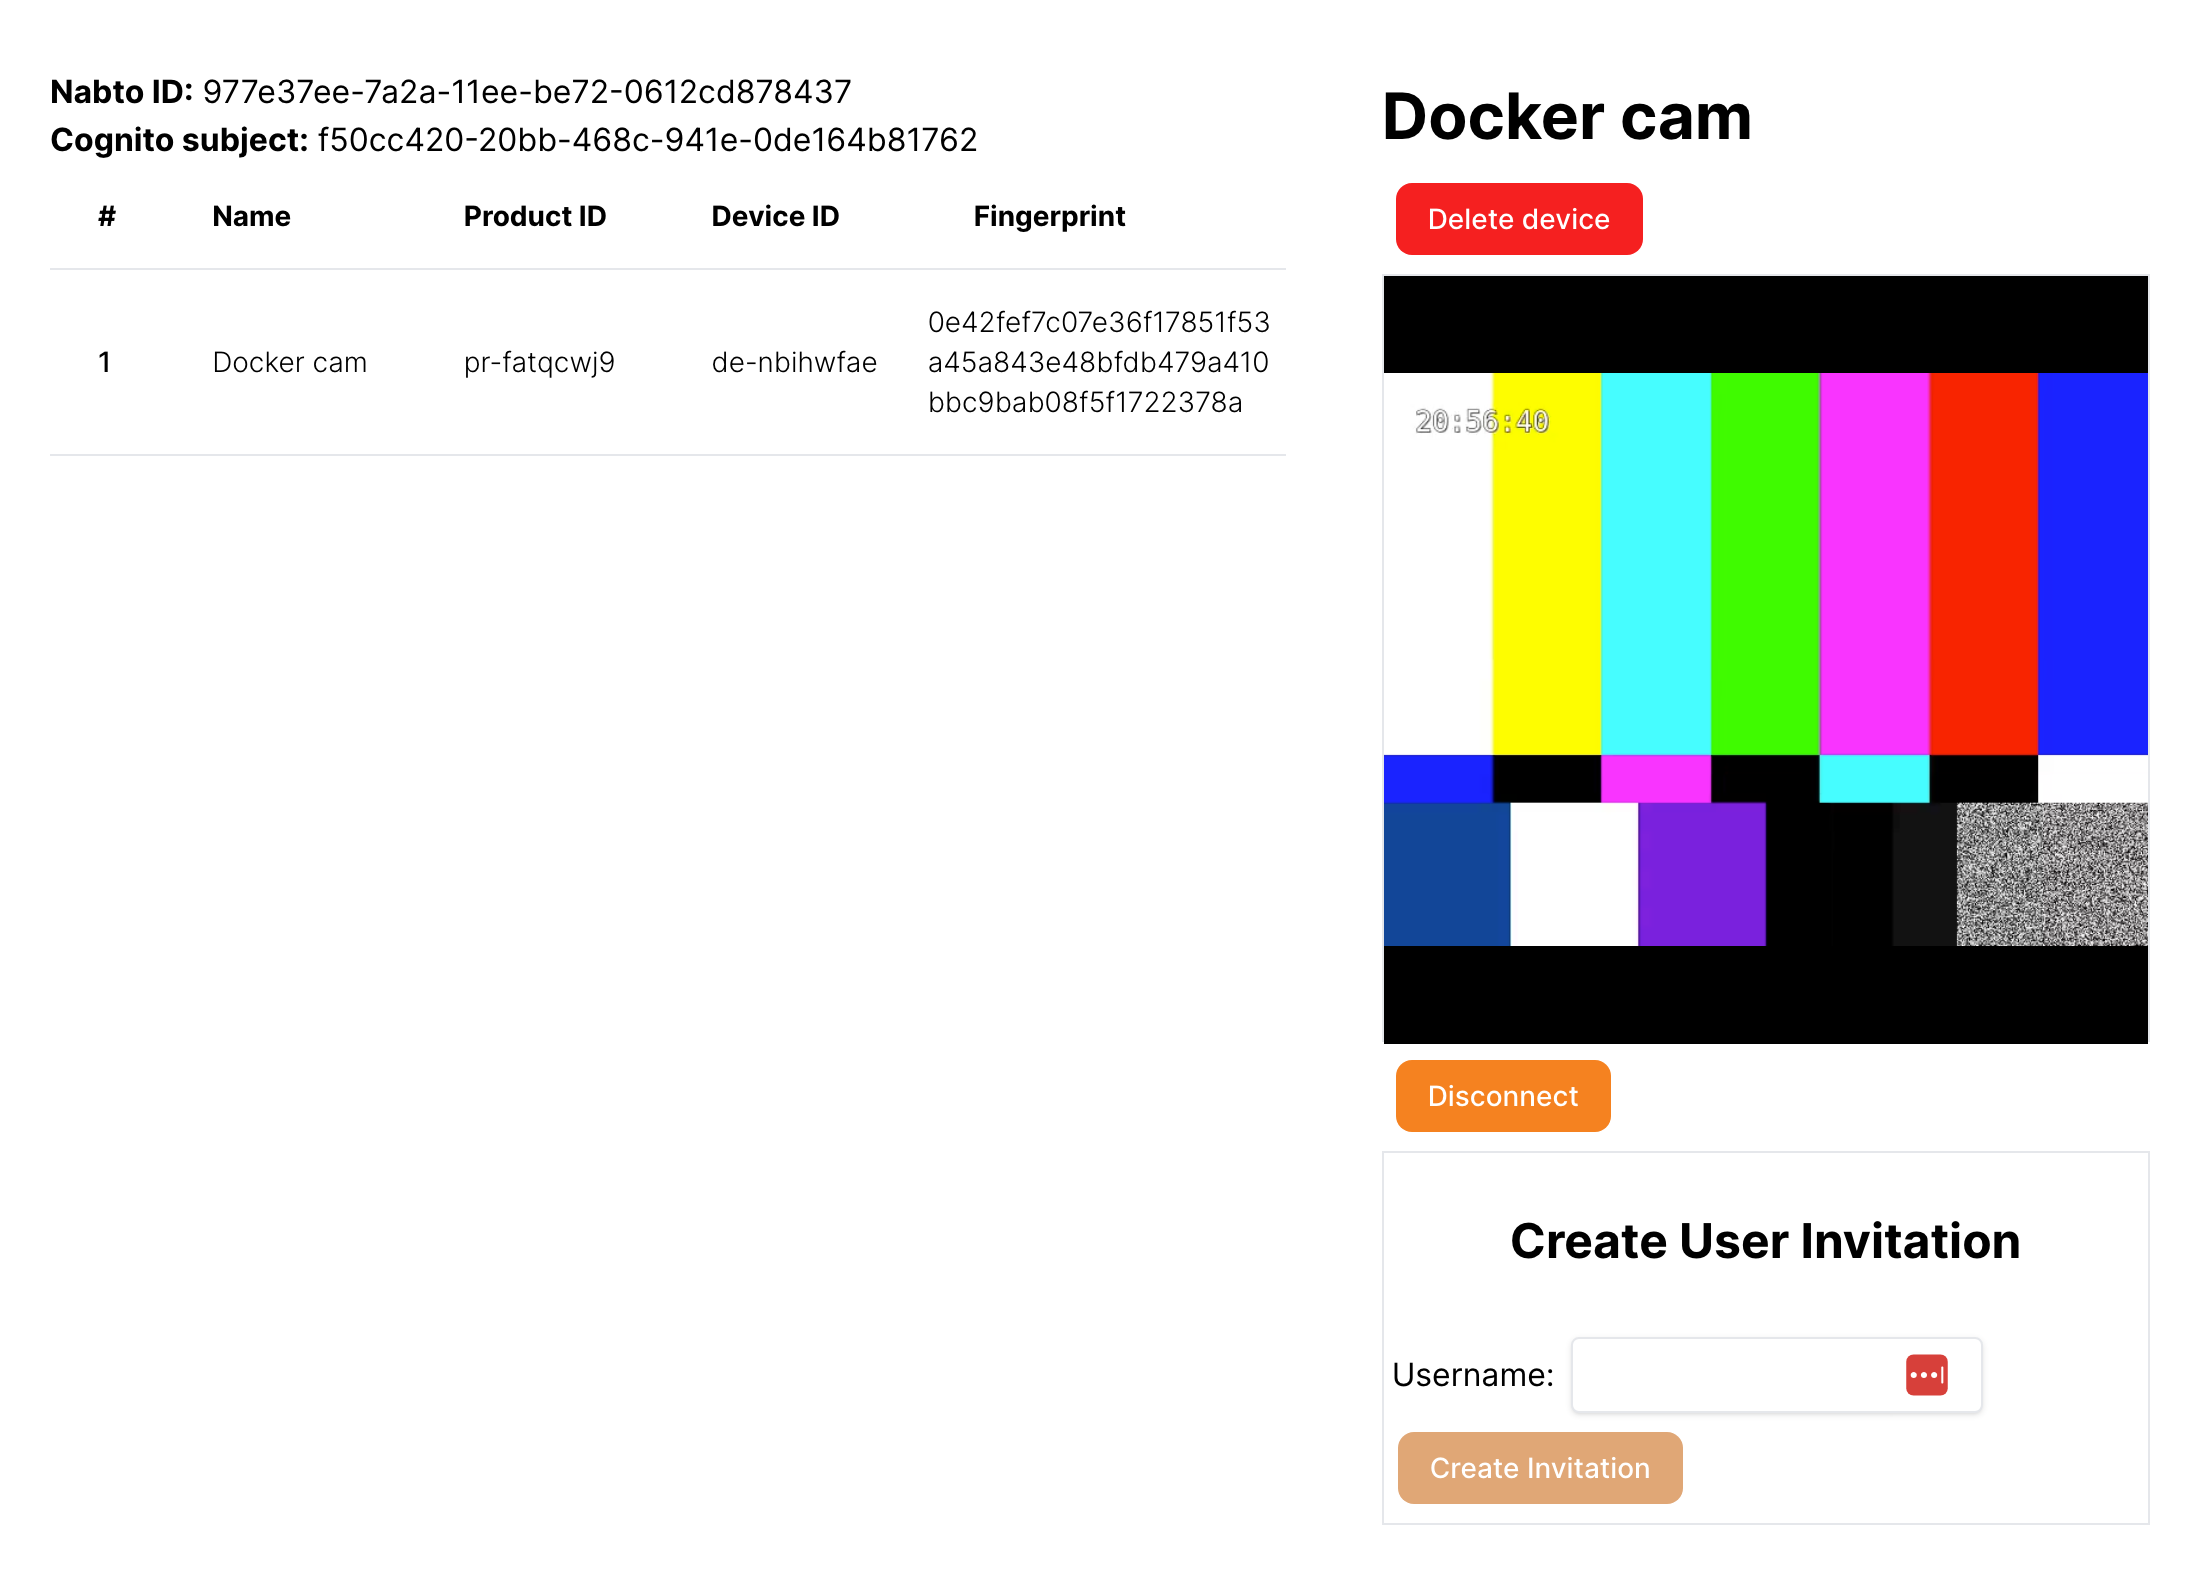
Take note of the Device Configuration section, there will be a JSON snippet containing exactly the information that needs to be in the device.json file of the former section in this tutorial. Do not leave this page yet, we will need to use the Fingerprint section in the next part.
Start the Nabto Edge WebRTC Device Application
There are two ways to try the Nabto Edge WebRTC Device Application (the piece of software running on the camera or NVR/DVR, built with the Nabto Edge Embedded SDK): Either use the quick-start Docker based approach where everything works out of the box, including a test video feed - you just need Docker installed.
Or you can build the application on your own, it requires a few tools, but is closer to the process needed when actually integrating on a camera.
Below we will summarize the quick Docker-based approach.
First, create a private key for your Nabto Edge WebRTC Device using the following command:
docker run -it --rm public.ecr.aws/nabto/nabto-edge-device-webrtc:main edge_device_webrtc --create-key
Created Raw private key:
  badfae3acfa7ab904ac639f0c4cb0ad268d23f4e324e0708aeb567f87da0c324
With fingerprint:
  73e53042551c128a492cfd910b9ba67fffd2cab6c023b50c10992289f4c23d54
Copy the fingerprint output on the last line into the fingerprint field in the Nabto Cloud Console for your device. After doing this, your Docker-based device is allowed to comes online:
IAM was reset or config file does not exist at: /homedir/iam_config.json
  Creating one with default values
IAM was reset or state file does not exist at: /homedir/iam_state.json
  Creating one with default values
################################################################
# Initial user pairing link:
# https://demo.smartcloud.nabto.com?p=pr-jzoqqta9&d=de-uguiictr&u=admin&pwd=RE9JdhVRFvbp&sct=LVDgSEghqD1O&fp=73e53042551c128a492cfd910b9ba67fffd2cab6c023b50c10992289f4c23d54
################################################################
Device: pr-jzoqqta9.de-uguiictr with fingerprint: [73e53042551c128a492cfd910b9ba67fffd2cab6c023b50c10992289f4c23d54]
2024-01-11 14:07:53.418 ...sdk/src/core/nc_device.c(399)[_INFO] Starting Nabto Device
2024-01-11 14:07:53.421 ...libevent_mdns_udp_bind.c(203)[ERROR] Cannot add ipv6 default membership (19) No such device
medias size: 1
Using default port: 8554
Using default endpoint: video
Using pipeline (as parsed): (  videotestsrc ! clockoverlay ! video/x-raw,width=640,height=480 ! videoconvert ! queue ! x264enc tune="zerolatency" byte-stream=true bitrate=1000 key-int-max=30 ! video/x-h264, profile=constrained-baseline ! rtph264pay name=pay0 pt=96 )
Stream ready at rtsp://127.0.0.1:8554/video
2024-01-11 14:07:53.765 ...k/src/core/nc_attacher.c(747)[_INFO] Device attached to basestation
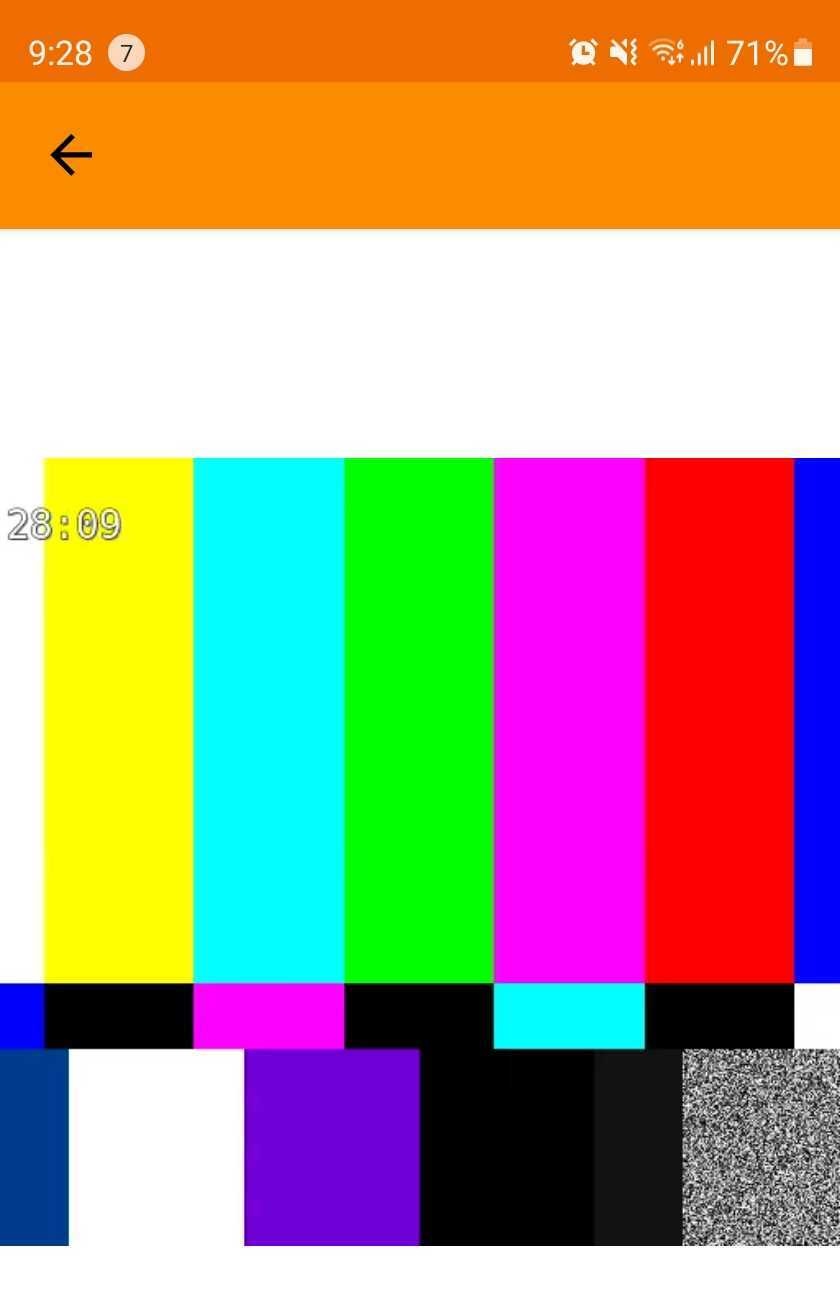
Initial pairing is currently only supported in the web application client - it will soon be supported in the native mobile apps as well. For now, copy the Initial user pairing link to a web browser as outlined in the quick-start guide - this includes creating a profile on the WebRTC demo portal. Name the demo device and view the video feed:
Note that this is an example web application hosting a WebRTC demo player. It has a separate username/password than the Nabto Cloud Console you used for creating and configuring the device.
Build and install Android App
On an Android device, install the Nabto WebRTC app from Google Play.
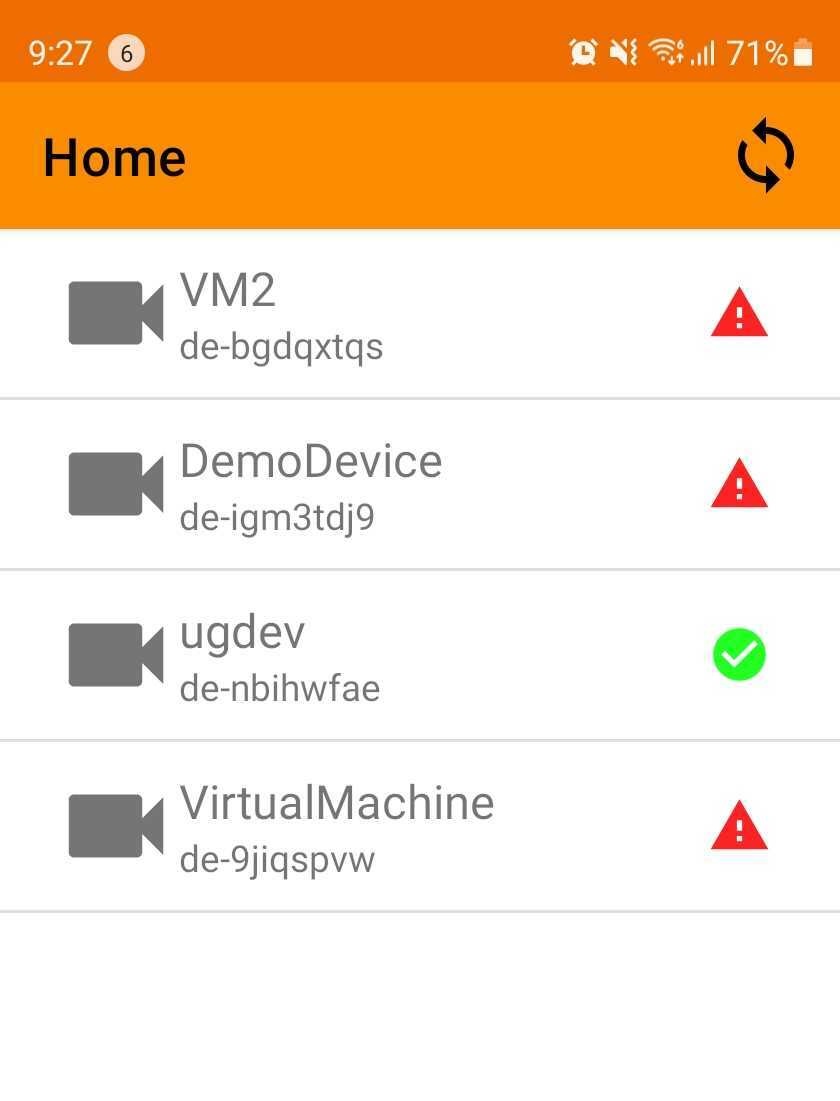
When asked to log in, specify the same credentials as you did on the WebRTC demo website. You will then see an overview page, listing all cameras you have paired through the webportal client application:
Tap a camera in the list and view the video feed: